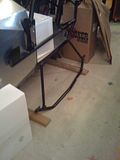
We finally gave up and drilled out the stuck nut on the strut brace. That might net us $50 from a Foxbody enthusiast. We originally wanted to get it out to be able to oil the cylinders and test if the engine would rotate. But we decided it didn't need to be done now since the test was quick and we'd have plenty of time to rebuild it or source a new engine later.
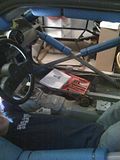
Ben from Terrafugia disassembling the steering column. It mostly went ok, but the instructions said we could pull the spline shaft free from the steering rack. This wasn't the case for us, so we undid the next U-joint towards the steering rack and pull everything up to that half of the U-joint through the firewall. Note for the FFR manual: there could be a lot of loose single wires that the steering column mounts could snag on, so make sure you have clearance before you try to tug it out. We still have to remove the sleeve around the steel column shaft, as the kit doesn't need it. Oh, and the U-joint half needs to go with the steering rack, not here. Just to stick to the instructions.
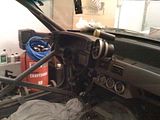
Steering wheel and column out of the car. Note CG's aftermarket tach and shift light. His speedo cable broke, so we'll have to buy one as a donor part for the kit.

The ECU. This was hell to get out because it was packed between the rollcage and the fender wall. It was a slow process of unsnapping plugs and unbolting the ground. This thing better still be working, dammit.
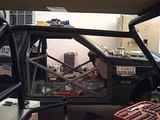
Shot of the opened up Mustang. When we first tried to do either the ECU or steering column, we found the tight bucket seats to be a huge pain to work around, so we unbolted those and took the doors off. Oh, and also removed those roll cage foam pads, since the zip ties ends kept stabbing us as we got in and out.
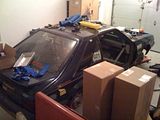
The Mustang is nice and boxy, so perfect to storing stuff on.
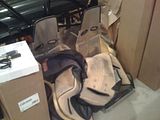
the racing seats with their covers removed. Not sure what the plan with these is. The kit came with some seats and harnesses of their own.
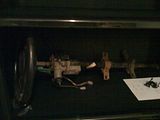
Steering column and brake pedal washers. We were halfway done with removing the brake booster and master cylinder and decided to call it a day. But we at least unhooked the brake pedal from the brake booster pushrod. The instructions emphasized remembering the order of washers and clips mating the pushrod to the pin on the brake pedal, so I drew a diagram and ziptied them in order.
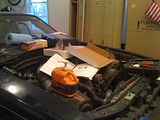
Misc crap sitting on the intake manifold.
It was a good 3 hour session. We were pretty on target time budget-wise with the donor part removal steps, but didn't account for taking out the seats and doors.
Next steps, roughly in order:
- bleed out brake fluid before removing MC and brake booster (I don't think the instructions reminded us to do it)
- remove brakes
- remove brake booster and MC
- remove steering rack
- extract wiring harness (will be a royal pain in the ass)
- rear end, suspension elements, e-brake
- headers, engine and tranny
No comments:
Post a Comment