With the weather warming up in New England, it's much more pleasant to work in the garage. Pics from last time:
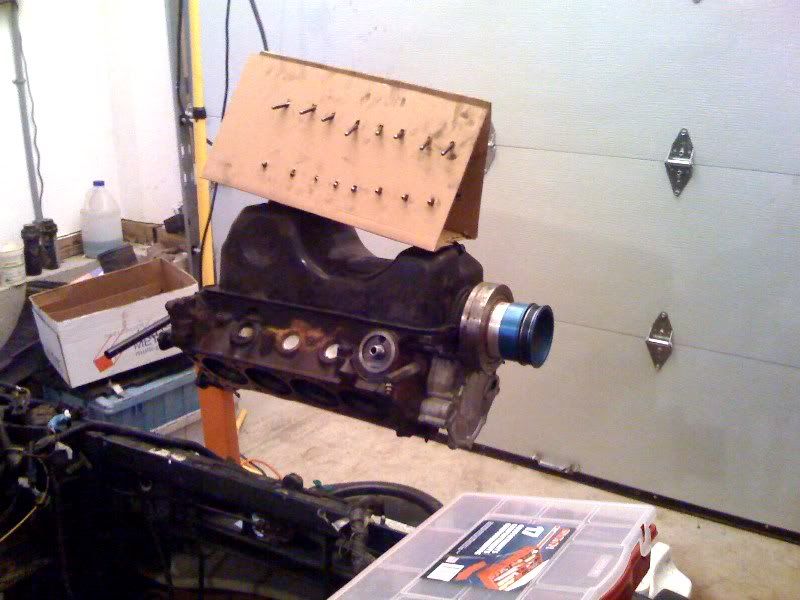
The engine on its stand. It's upside down.
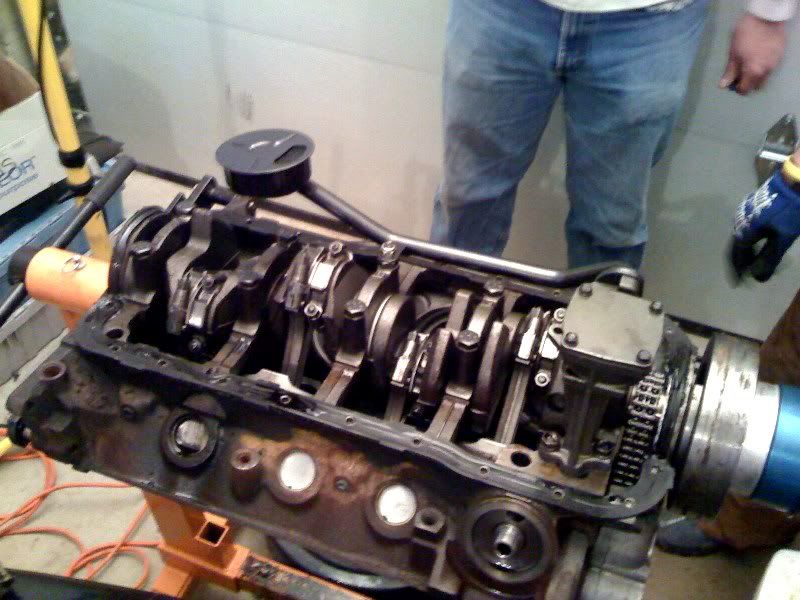
The oil pan off and the bottom end exposed. The oil pan gasket is pretty ratty.
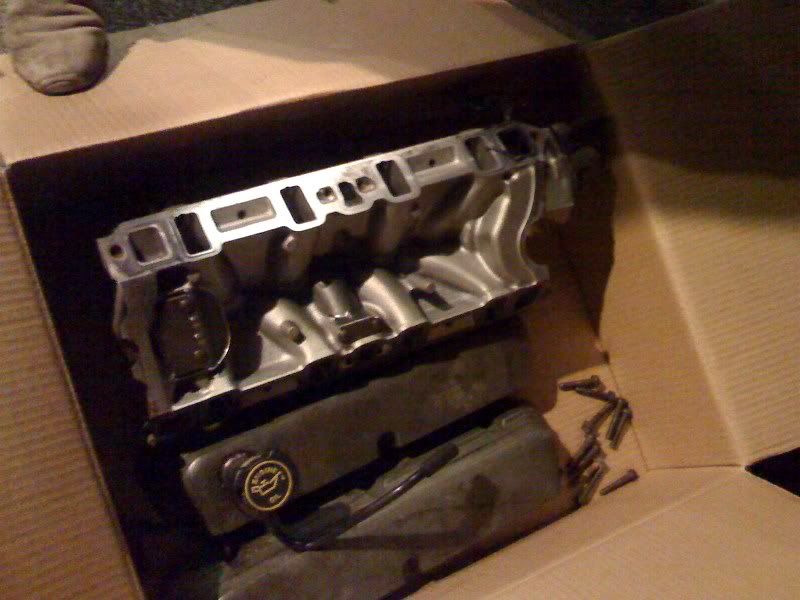
The valve covers and the intake manifold. I'm not exactly clear on the terminology, but the other piece was attached to the
throttle body, while this one is the one that directs air to the 8 cylinders.
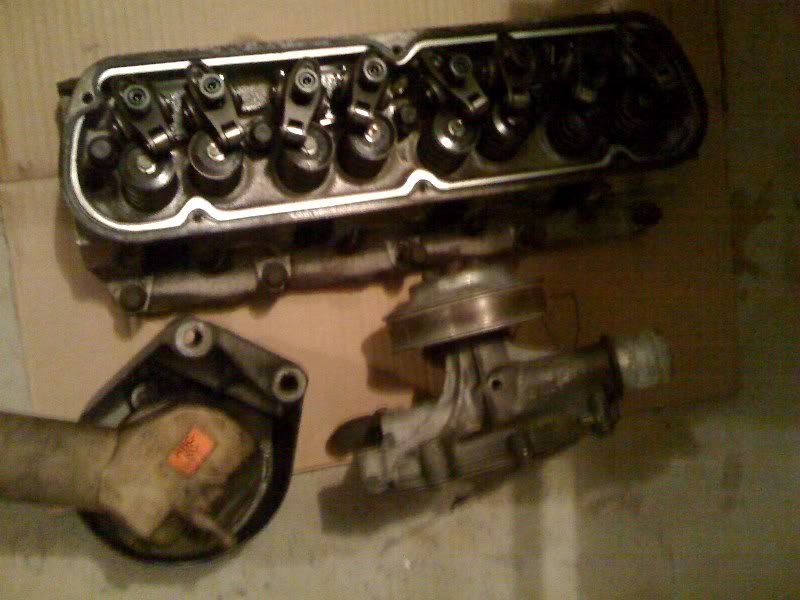
The heads and waterpump.
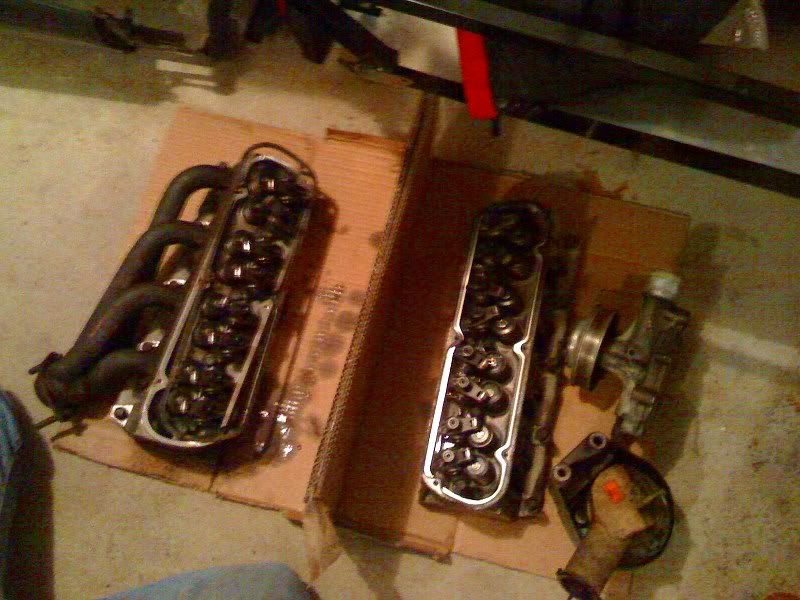
Marc mentioned that these look almost new, which sort of blunted his desire for a crate engine :)
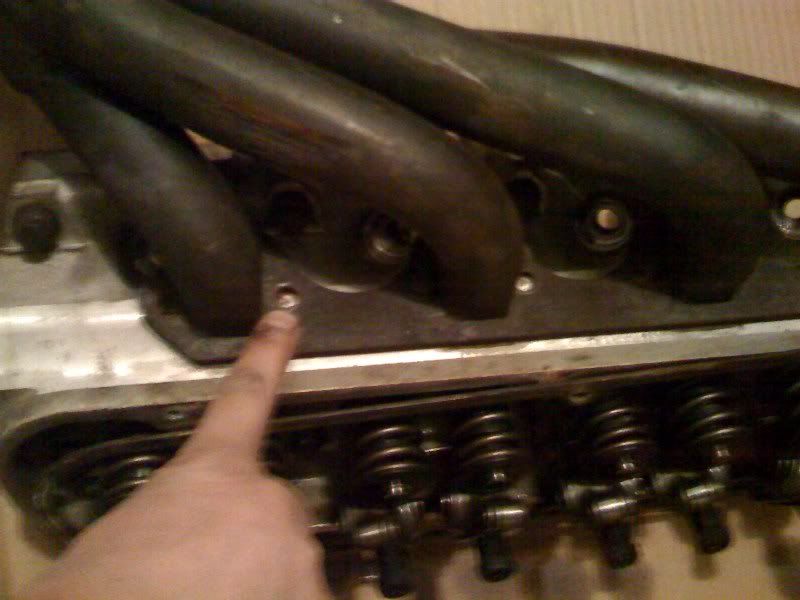
Unfortunately, 2 of the bolts holding on an exhaust header snapped off. There's enough material that they seem to be poking
above the plane of the head. We'll have to be careful in getting them out.
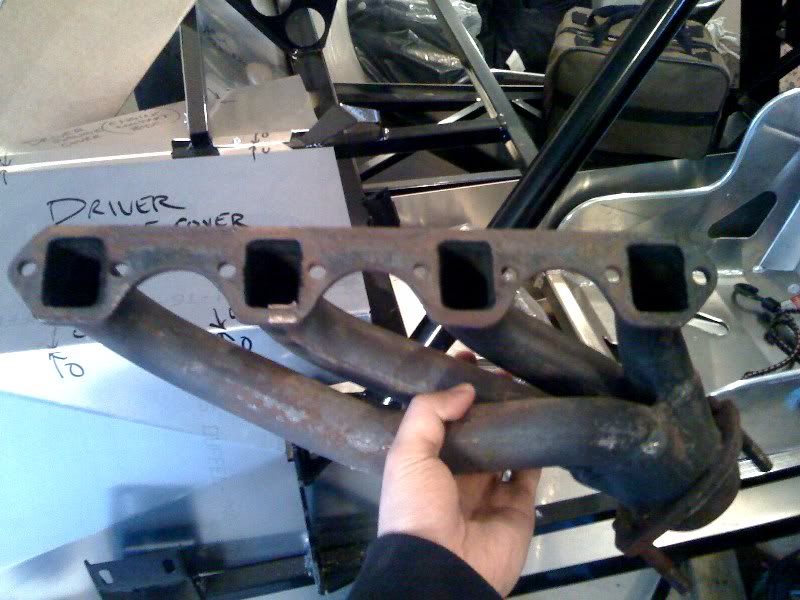
The exhaust header is quite light. Maybe 4 or 5 lbs.
LOL PUSHRODS
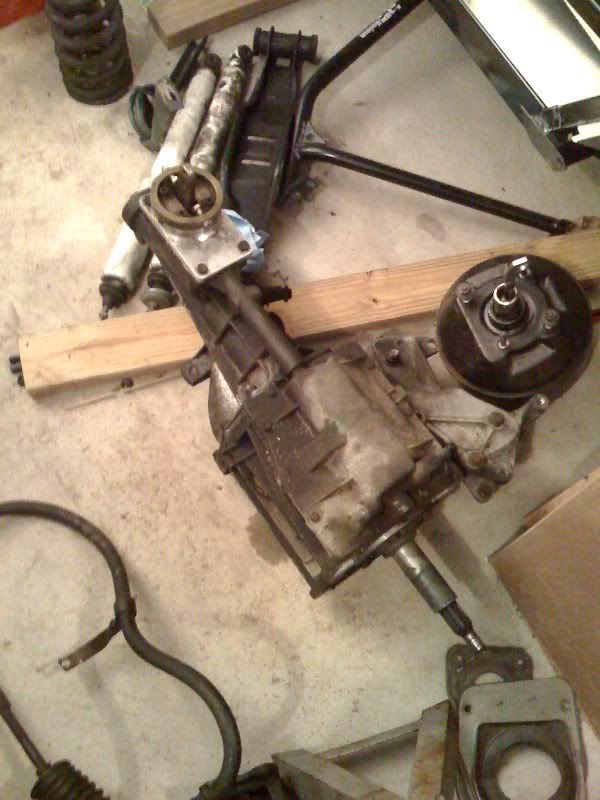
The transmission looks tiny when the bellhousing is off. We're thinking of tearing it down and rebuilding it ourselves.
Bellhousing and clutch and pressure plate. I'm missing a pic of the flywheel.

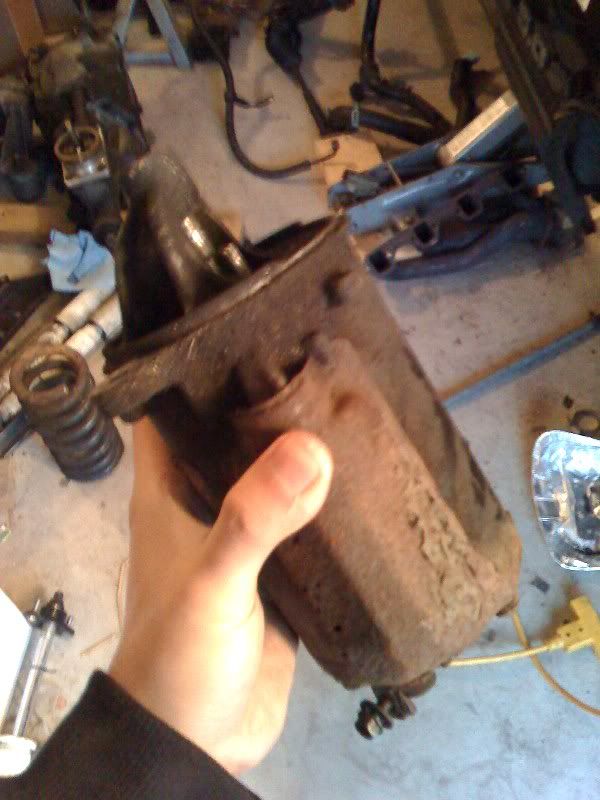
The damned starter.
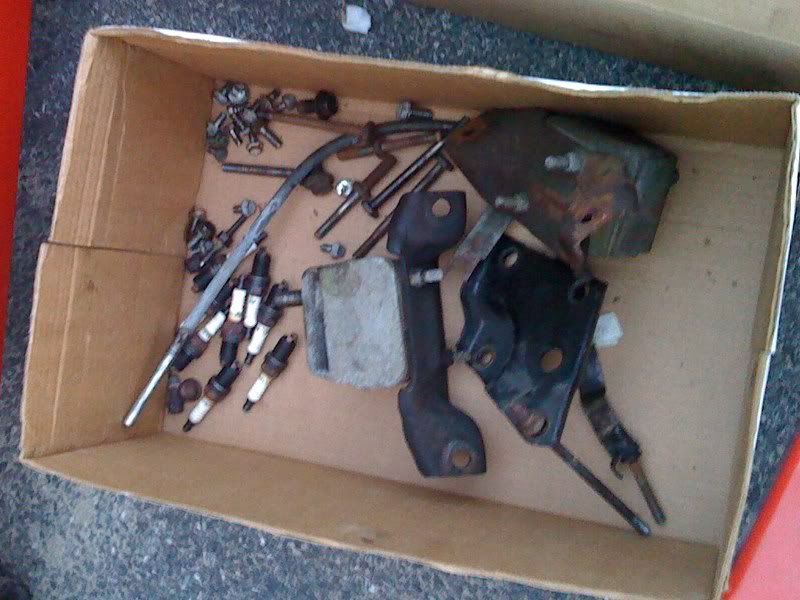
Spark plugs and engine mounts.
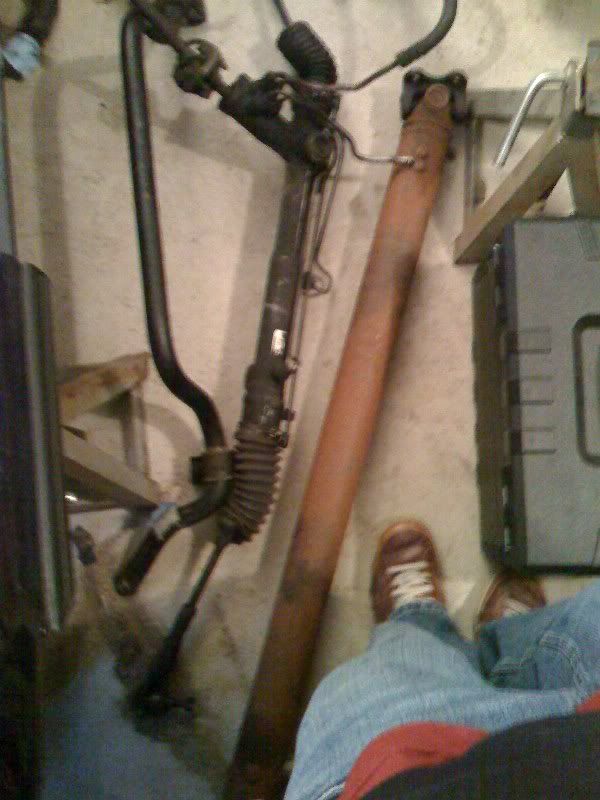
The rusty driveshaft. We need to find a shop to shorten it per the assembly instructions.
And this session.
CG and Marc got the quad shocks unhooked in the back.
They also got off one front spindle, as a proof of concept. The other one should come off, but we didn't have enough time for it.
I finally manned up and crawled under the dash console to see what was left to do with the wiring harness. The floor of the Mustang was littered with loose parts and the racing seat brackets, and it wasn't that flat to begin with. Working down there was the epitomy of uncomfortable. After taking 10 minutes working with my forearms through holes in the dash (the only way they'd fit) to unhook a connector, I decided to investigate taking the dash off. That was the definitely the right approach:
1) unscrew the 4 torx screws that hold on the gauge cluster. We pulled the unhooked tach cable through from the firewall, but I assume you could unplug it from the back of the cluster as well.
2) unclip the 3 tabs that hold on the windshield defrost vent. Lift it off.
3) unscrew the 5 torx screws that were previously covered by the vent.
At this point a stock Foxbody's dash should be clear to remove. In our case, CG had an aftermarket tach that was threaded through a heat vent, and aftermarket oil/water temp gauge cluster mounted where the radio would be. The cage wasn't a problem because the cage builder did a really tidy job of cutting holes in just the right place to make the dash easy to take out and put back. I was able to follow the wires leading from the tach and detach them from their splicing into the harness. That got the tach clear. For the gauge cluster (I forgot a pic for this), the oil pressure gauge used a metal line that I managed to unbolt, but I couldn't figure out how to detach the oil temp and water temp lines. So Marc helped me push those lines (which terminated in temperature plug sensors) through the firewall. The cluster is still on the dash, which we hauled out wholesale. I have a theory on how to take it off. Will do next time.
With the dash out, it was trivial to cut zipties and unhook remaining connectors. And by trivial, I mean a bastard. I cut my finger on something in the process. The passenger side half of the harness has the big ECU plug on it. But the firewall hole is conveniently large enough to push it out. IIRC, there were 2 connectors from this half to the driver side. The driver's side is the bulk of the harness. There's tons and tons of unusued connectors in this car, which I assume can be trimmed off. The fusebox and airbag processer also hooks up to this side, so no way is it going through the firewall. Instead, we pulled everything from the engine bay into the interior. Everything came loose and we boxed it up.
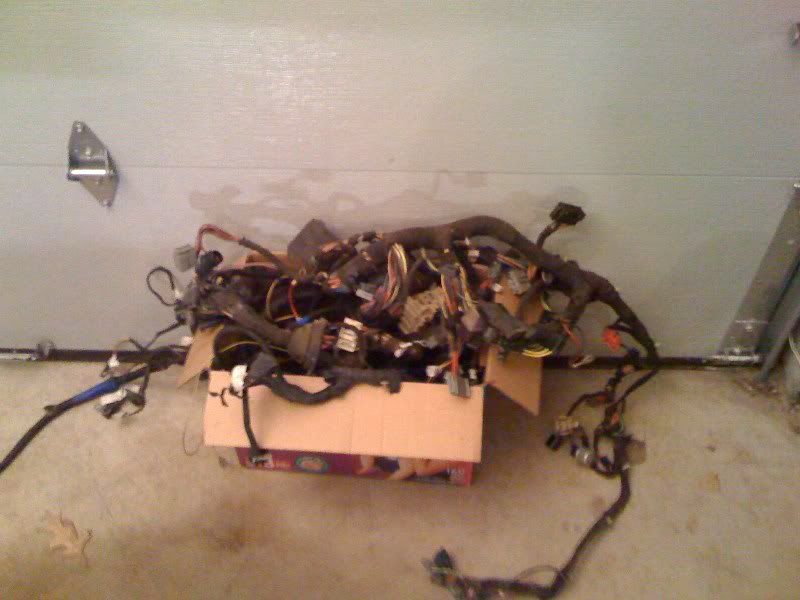
Sorry, I didn't have the patience to take more pics of the thing all spread apart and ugly looking. The whole mess probably weighs about 20 lbs. I will strongly lobby for sending the entire set off to be trimmed by a professional. In fact, I'll look on the Cobra forums now to see who the guy is.
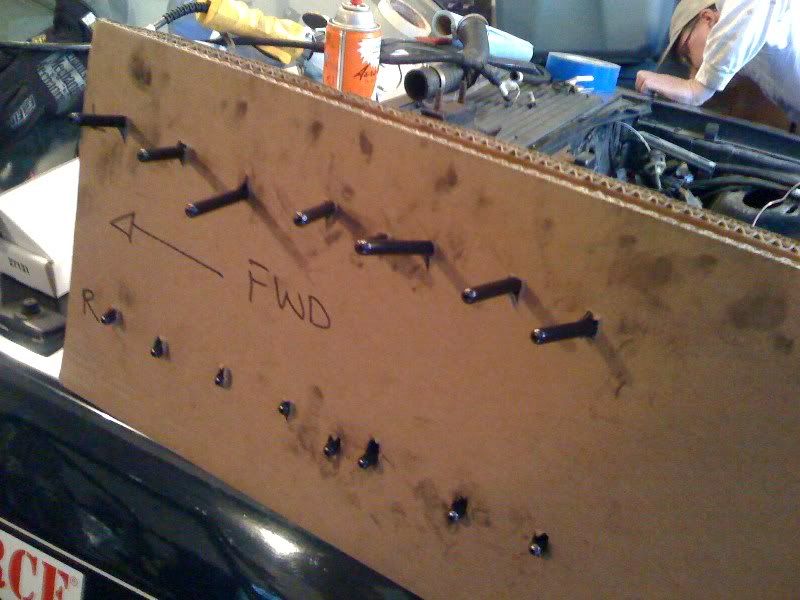
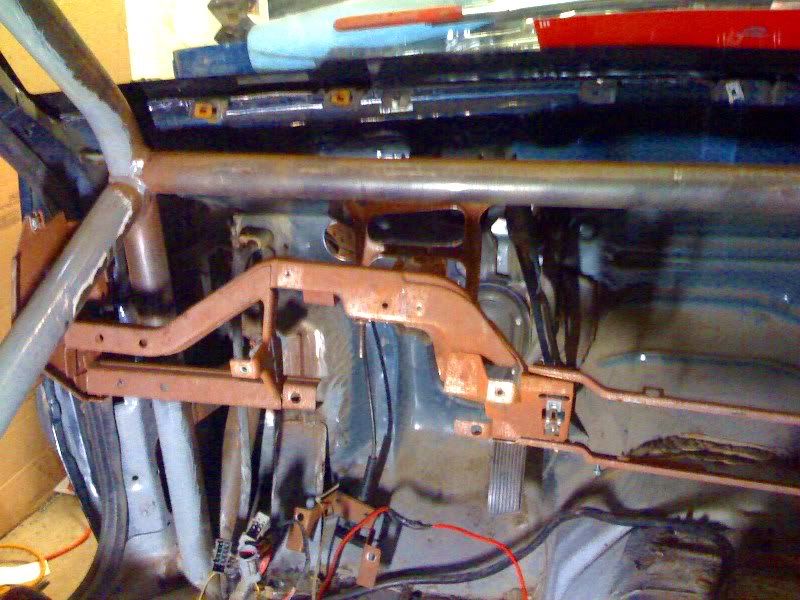
And now the dash is virtually gutted. The plugs you need at the bottom are all to the rear wiring harness. Which will be a snap to take out.
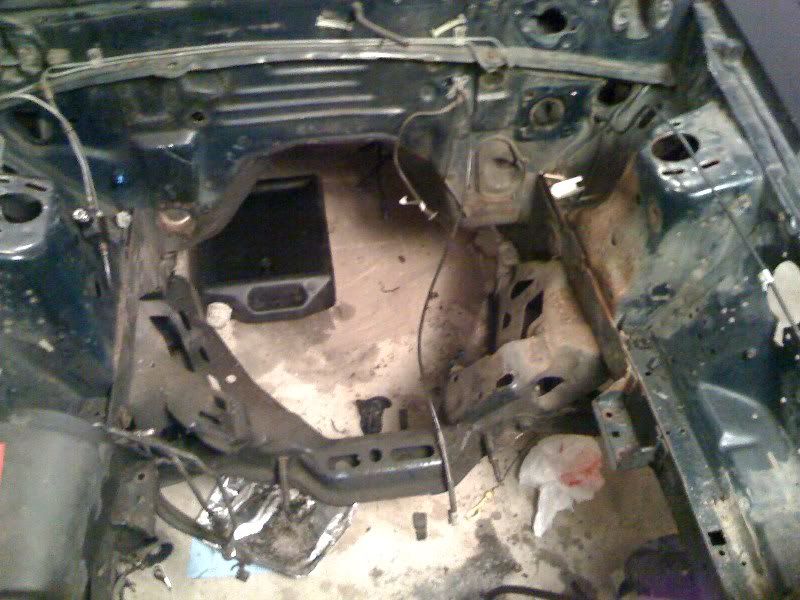
The empty engine bay.
Todo:
- remove fuel lines. CG will work on this on his own when he has time
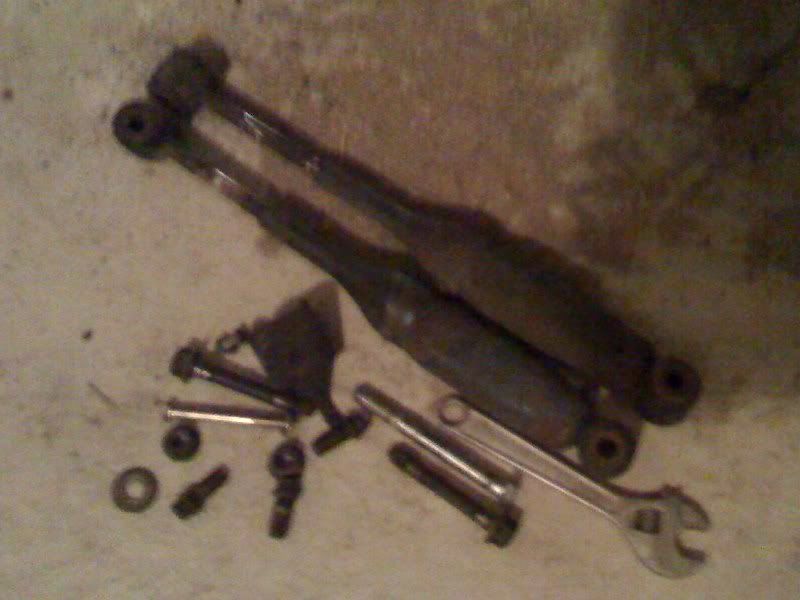
- take off driver side spindle
- take off front lower control arms. The kit comes with tubular LCAs, but might as well take them off for completeness.
- remove aftermarket gauges from dash console.
Notes to self:
- need to put fuseblock back on mount. Just in case. 4 torx screws on driver side floor
- 5 long torx screws for dash are on floor
- 4 brass torx for gauge cluster on floor
- I handed CG the electric fan manual switch and neutral safety switch. Need to find those.
- there were 2 plugs into the airbag processor
- there were 3 or 4 plugs between the front wiring harness and the rear. Should label them
No comments:
Post a Comment