Thursday, August 6, 2009

diff adventures, panel work begins

Marc and Ben decided to crack open the diff to see if it needed servicing.


Check out Ben's high school robotic team jumpsuit.


After popping off some C-clips, you can draw out the half shafts.


Then you unbolt each side's bearing cap. One is undone here:


The crown gear is stock and looks is great shape.


You can see the clutch discs of the LSD toward the bottom.


With the shafts out and the caps off, you can pull out the diff. Little oopsie on letting the outer race of the bearing fall off.


This wad of gum looking and feeling thing was sitting in the axle housing, just past where the diff sat.


What the hell could it be?


We brought out the diff and sat it up. Is that ok on the bearing?


Gotta keep things organized so we can remember how to put it back together.


You can seen the pinion gear in the murky bottom of the diff housing.


So after extracting all that, we realized we had screwed up a bit, as far as complete disassembly of the diff goes. The pinion gear is held through the outside of the diff housing by a big nut, which we couldn't get off with nothing holding the pinion gear in place. We put everything back together only to realize how hard holding the rear axle still was while cranking on the bolt. We'll try again later with an impact wrench. Are there other good ways to do it once the axle is free of the car?

Next post details the other work we did.


We're finally getting into the kit car phase, where all the fiddly parts come out and we take on the challenge of putting together a car from scratch. With the old car out of the way, there's a real buzz hanging in the air. It's like Christmas opening up all the new parts boxes.

Recap of the car. This vantage point is nice. Maybe I'll bring my GoPro out next time and set it up to take time lapse video.


Placing the rear trunk panel. Here's where the kit-carness really sets in. The tolerances on these panels is good, but not perfect. I'll bet it's not much better in factory cars. The only difference is that the workers have tons of experience placing and fitting things just the right way. And that they're not placing things straight onto a space frame.


The trunk consists of 4 pieces: the floor, the rear, and the 2 walls. The kit comes from the factory with every panel in place, to help you memorize their relative placement.

All the writing has been done by us. The matching arrows are annotated with O/U. O being the panel that sits [b]over[/b], and U being the panel or lip that sits [b]under[/b]. The concentric rings you see on the trunk floor panel are from huge suction cups Factory Five uses to move these panels around.

A sample of my incredible markup work. This is the passenger side trunk side wall.

The panels and spaceframe have been designed with each other in mind, so where possible the edge of a panel is folded to sit on a square bar. In other places, you have to mark lines for the bar. Here you can see that fitment can get quite sloppy. I'm using a small x over a line that is to be disregarded. The lines to the left are from where we thought a bar would be flush with the panel, but actually ended up angling away. The small o's are where we'll drill and rivet. The kit comes with enough rivets for one every 3". And I think that's fence post style, so if there's a span of 6" that needs to be riveted, we can use 3 rivets. Just in case that's not the case, I'm trying to be conservative and save a rivet here or there. I only got the 2 trunk side panels done.

As you can see, we're not taking the utmost care with the panels and marking. At the end of the day, this is a track car, so if the rivets are 1/16" off the center line or not aesthetically evenly spaced, that's not the end of the world. We'll do our best to clean off the aluminum after we're done marking up the panels. But most of it is supposed to be covered by the provided carpet. For looks CG suggested just clearcoating the trunk panels and leaving off the carpet.

Here's where I let yall down again. I was in a hurry to leave, and didn't take pictures of tons of neat parts. We were reconciling the packing list box by box, just to make sure the factory gave us everything we needed.

Radiator, fan, belts, stuff:


Lighting, plastic covers, etc.:


Shifter handle and boot:

The two bolts on the shifter handle line up vertically when bolted to the shifter, so the whole thing is angled extremely forward when in the car. This is because the engine and trans sit much closer toward the middle of the car.

Thursday, July 30, 2009

Back on track!

Time to dust off the project:


To recap, the Mustang was gone as of a month ago. This is the space left behind:


One thing we wanted to set up right away was better lighting. We set up 2 4' racks of 3 bulbs each.


hey guys wirenuts are ok for automotive projects, right?

Inspired by LloydDobler's project, I used a ziptie to prevent the electric cord from sliding out the hole.

Done. It's a bit crude and roughshod, but it's bright as hell.


Now we had to reorient the frame from the center spot to be under the light.

After some clearing out all the cruft piled aruond it, and huffing and puffing, we rotated the frame and reset the jackstands under the frame.


todos:
- set up work bench
- send engine off to get worked on
- put new diff gears into diff
- install rear end

Monday, April 6, 2009

Wiring harnesses: out!

After getting rejected for the Fiesta Movement, I was all bummed out. The cure was to work on the car yeahhhhhhhh.
With the weather warming up in New England, it's much more pleasant to work in the garage. Pics from last time:

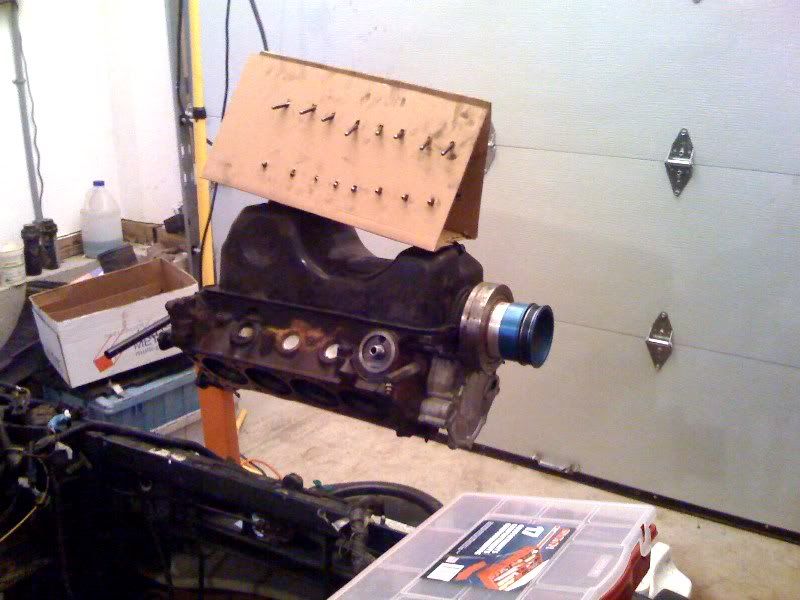
The engine on its stand. It's upside down.


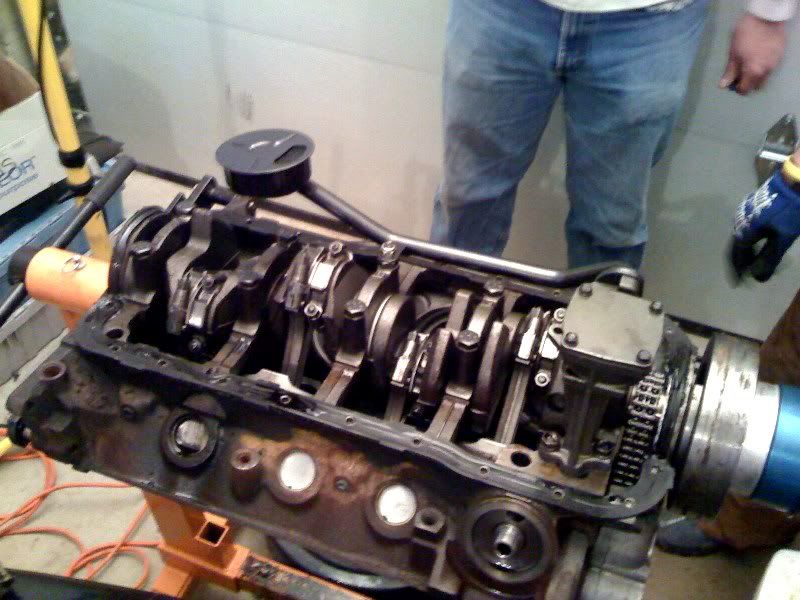
The oil pan off and the bottom end exposed. The oil pan gasket is pretty ratty.

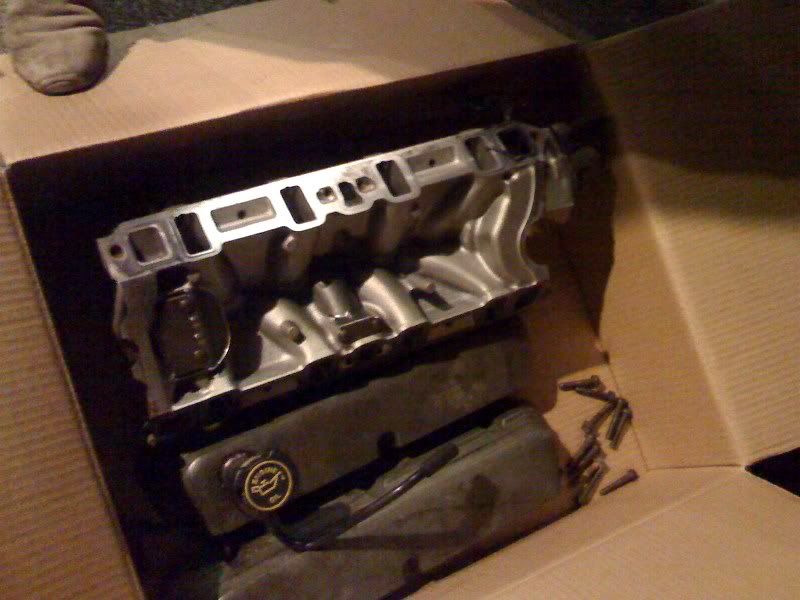
The valve covers and the intake manifold. I'm not exactly clear on the terminology, but the other piece was attached to the

throttle body, while this one is the one that directs air to the 8 cylinders.


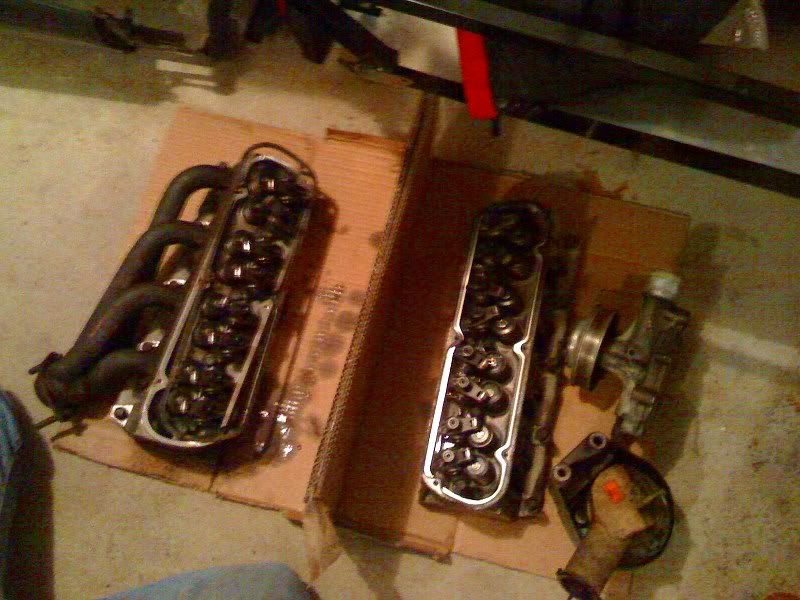
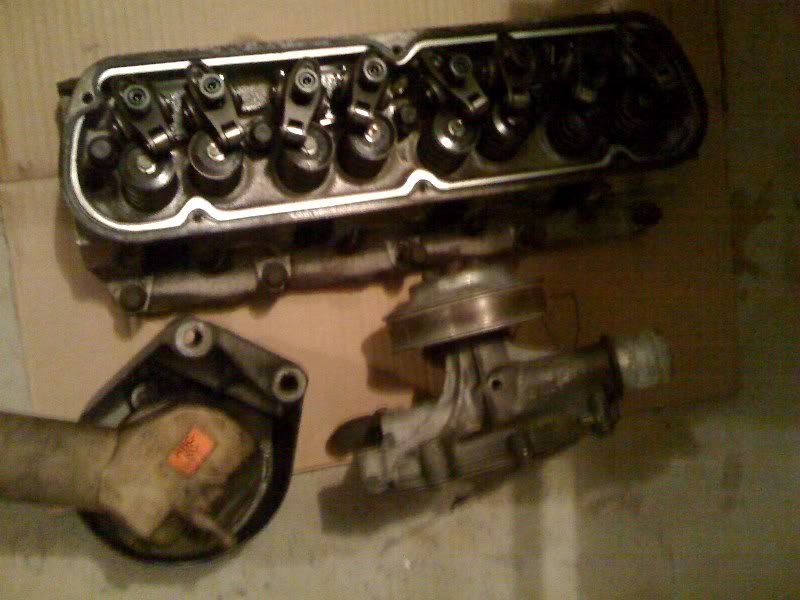
The heads and waterpump.


Marc mentioned that these look almost new, which sort of blunted his desire for a crate engine :)


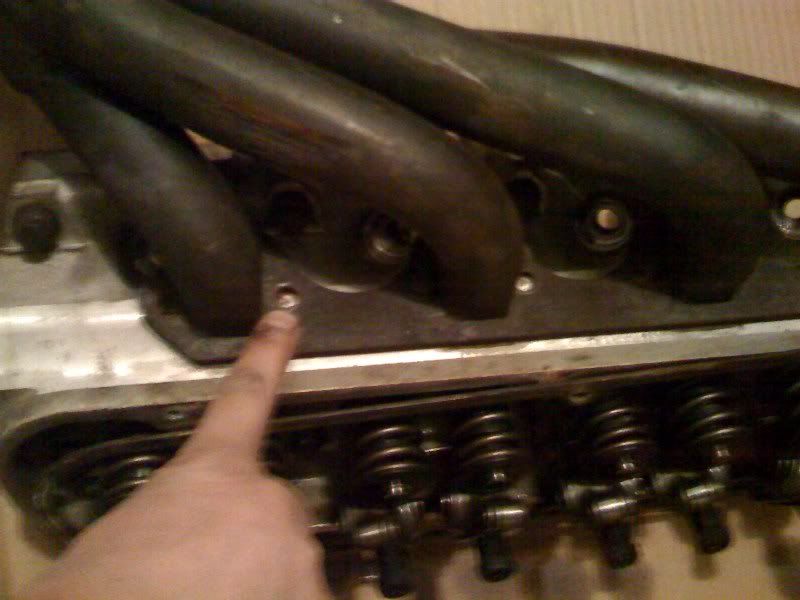
Unfortunately, 2 of the bolts holding on an exhaust header snapped off. There's enough material that they seem to be poking

above the plane of the head. We'll have to be careful in getting them out.


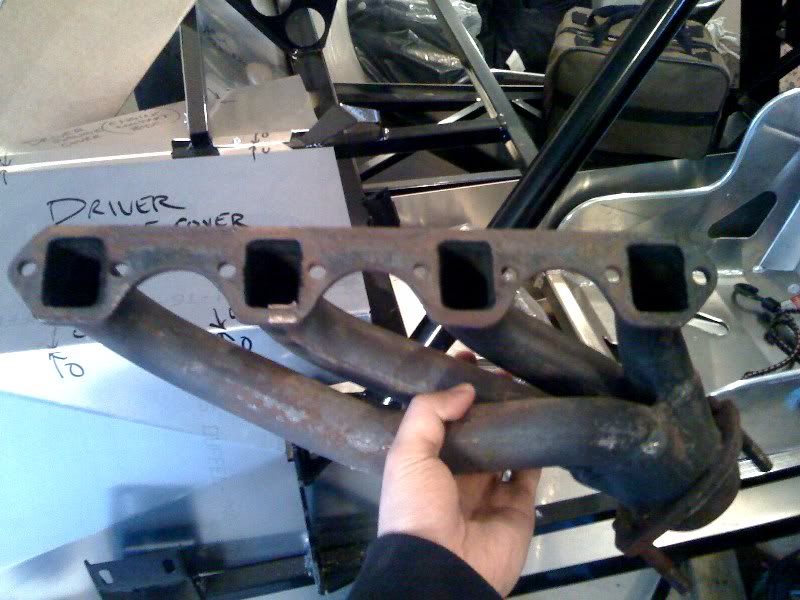
The exhaust header is quite light. Maybe 4 or 5 lbs.


LOL PUSHRODS


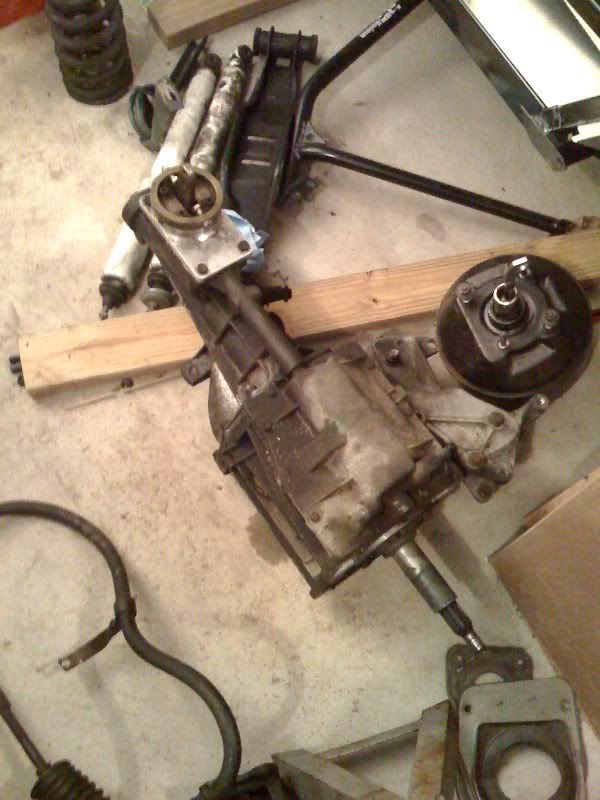
The transmission looks tiny when the bellhousing is off. We're thinking of tearing it down and rebuilding it ourselves.


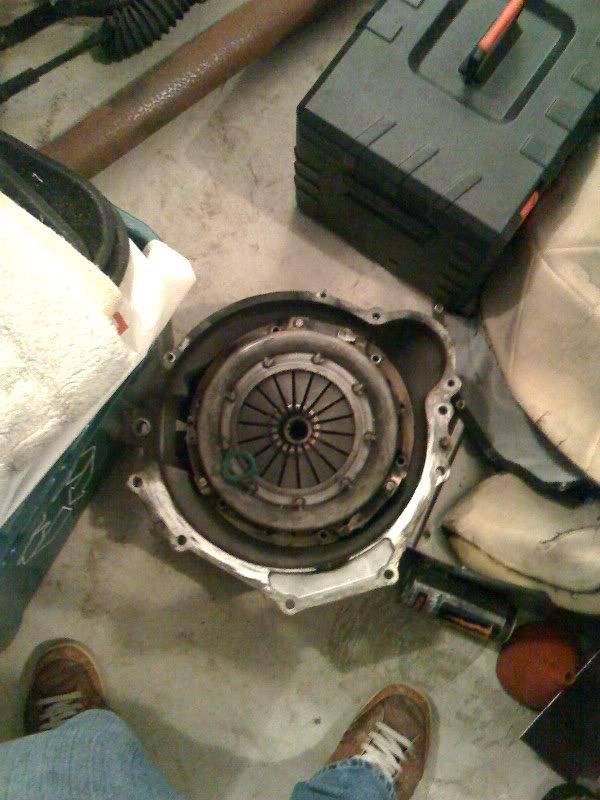
Bellhousing and clutch and pressure plate. I'm missing a pic of the flywheel.


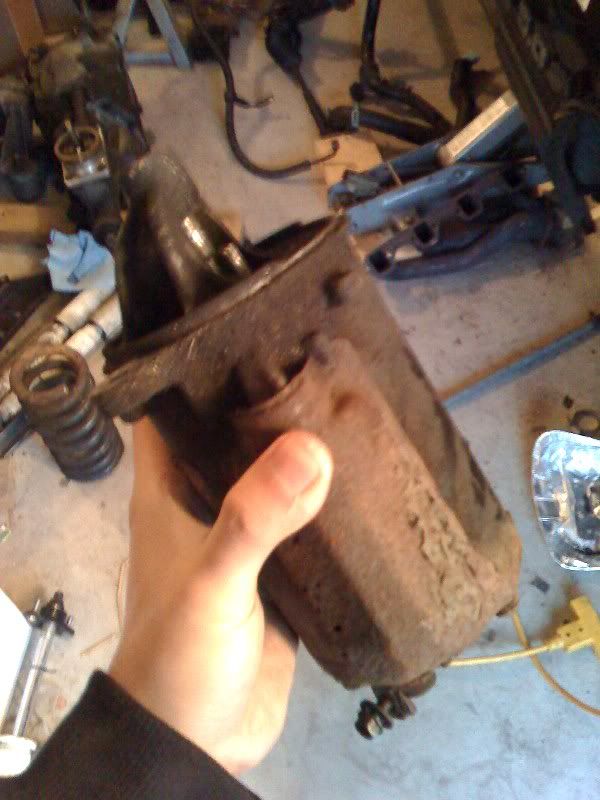
The damned starter.


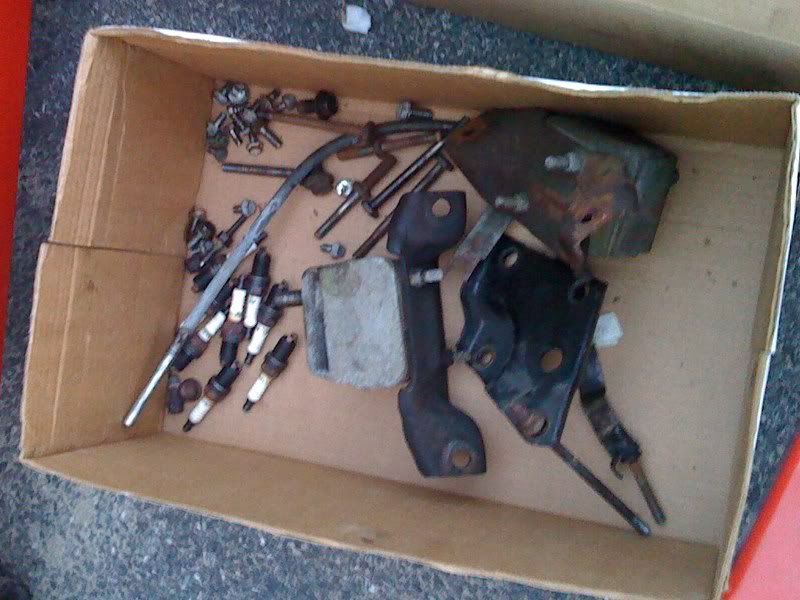
Spark plugs and engine mounts.


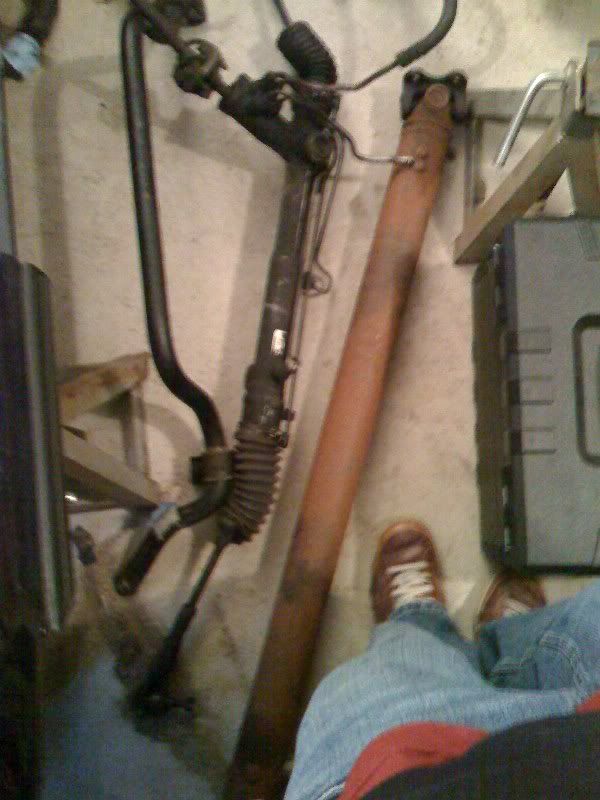
The rusty driveshaft. We need to find a shop to shorten it per the assembly instructions.


And this session.

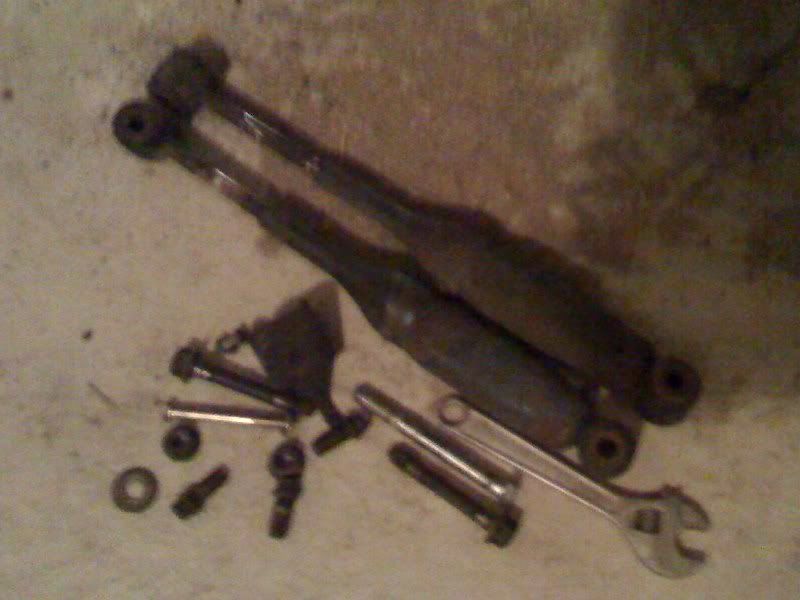
CG and Marc got the quad shocks unhooked in the back.

They also got off one front spindle, as a proof of concept. The other one should come off, but we didn't have enough time for it.

I finally manned up and crawled under the dash console to see what was left to do with the wiring harness. The floor of the Mustang was littered with loose parts and the racing seat brackets, and it wasn't that flat to begin with. Working down there was the epitomy of uncomfortable. After taking 10 minutes working with my forearms through holes in the dash (the only way they'd fit) to unhook a connector, I decided to investigate taking the dash off. That was the definitely the right approach:
1) unscrew the 4 torx screws that hold on the gauge cluster. We pulled the unhooked tach cable through from the firewall, but I assume you could unplug it from the back of the cluster as well.
2) unclip the 3 tabs that hold on the windshield defrost vent. Lift it off.
3) unscrew the 5 torx screws that were previously covered by the vent.

At this point a stock Foxbody's dash should be clear to remove. In our case, CG had an aftermarket tach that was threaded through a heat vent, and aftermarket oil/water temp gauge cluster mounted where the radio would be. The cage wasn't a problem because the cage builder did a really tidy job of cutting holes in just the right place to make the dash easy to take out and put back. I was able to follow the wires leading from the tach and detach them from their splicing into the harness. That got the tach clear. For the gauge cluster (I forgot a pic for this), the oil pressure gauge used a metal line that I managed to unbolt, but I couldn't figure out how to detach the oil temp and water temp lines. So Marc helped me push those lines (which terminated in temperature plug sensors) through the firewall. The cluster is still on the dash, which we hauled out wholesale. I have a theory on how to take it off. Will do next time.

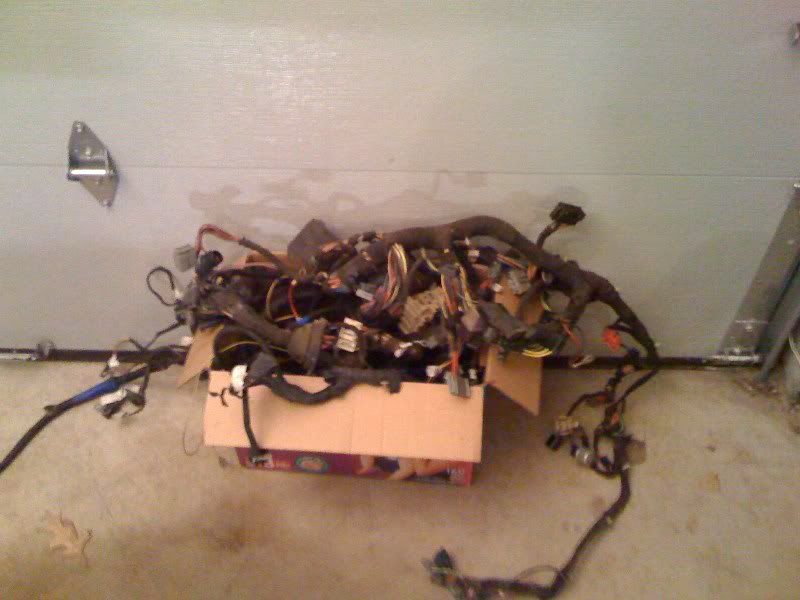
With the dash out, it was trivial to cut zipties and unhook remaining connectors. And by trivial, I mean a bastard. I cut my finger on something in the process. The passenger side half of the harness has the big ECU plug on it. But the firewall hole is conveniently large enough to push it out. IIRC, there were 2 connectors from this half to the driver side. The driver's side is the bulk of the harness. There's tons and tons of unusued connectors in this car, which I assume can be trimmed off. The fusebox and airbag processer also hooks up to this side, so no way is it going through the firewall. Instead, we pulled everything from the engine bay into the interior. Everything came loose and we boxed it up.


Sorry, I didn't have the patience to take more pics of the thing all spread apart and ugly looking. The whole mess probably weighs about 20 lbs. I will strongly lobby for sending the entire set off to be trimmed by a professional. In fact, I'll look on the Cobra forums now to see who the guy is.

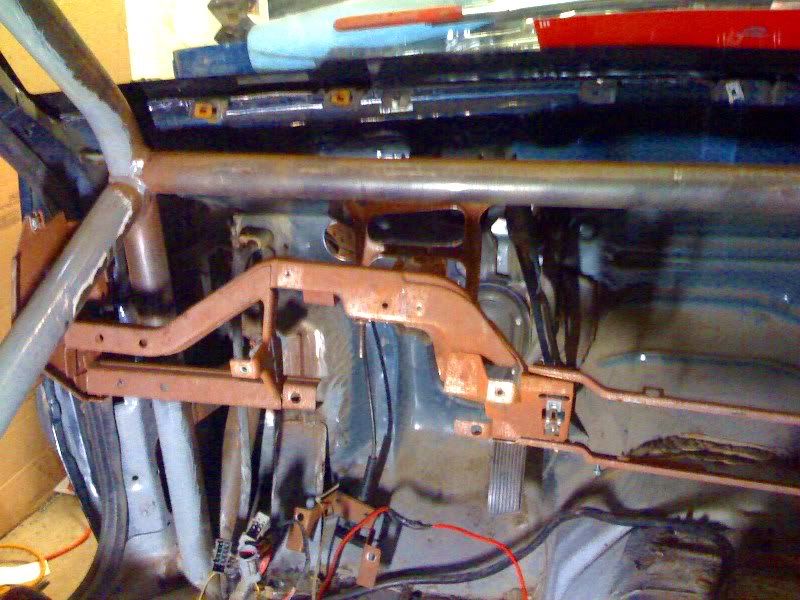
And now the dash is virtually gutted. The plugs you need at the bottom are all to the rear wiring harness. Which will be a snap to take out.


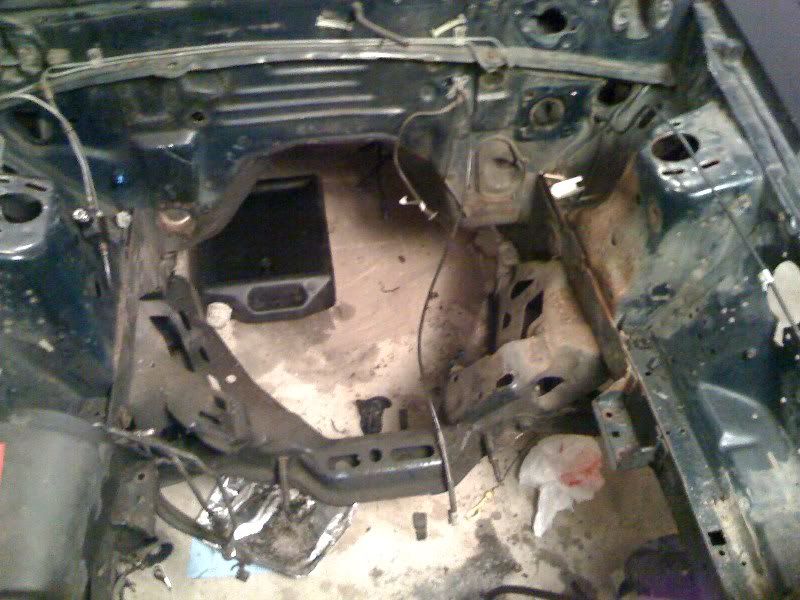
The empty engine bay.


Todo:
- remove fuel lines. CG will work on this on his own when he has time
- take off driver side spindle
- take off front lower control arms. The kit comes with tubular LCAs, but might as well take them off for completeness.
- remove aftermarket gauges from dash console.


Notes to self:
- need to put fuseblock back on mount. Just in case. 4 torx screws on driver side floor
- 5 long torx screws for dash are on floor
- 4 brass torx for gauge cluster on floor
- I handed CG the electric fan manual switch and neutral safety switch. Need to find those.
- there were 2 plugs into the airbag processor
- there were 3 or 4 plugs between the front wiring harness and the rear. Should label them

Friday, March 13, 2009

Pulled the motor out today!

But first, we still needed to free the front springs. After over an hour of unsuccessful attempts last time, Marc decided the only way we were gonna get the spring compressor into the front springs would be to get the struts out of the way.

And those were on pretty tight, so we had to bust out the torch:

With that, the nuts broke easily, and we finally got enough vertical space to put the compressor rod on. Even so, we could only grab a couple coils, so it wasn't enough to compress the springs. Since we already had the lower control arm jacked up for safety, Marc said it screw it and started lowering the control arm. It was risky but we were standing as far out of the way as possible. Fortunately, the springs unloaded and fell out.

We recovered all the bits for the Maximum Motorsports camber plates setup. CG'll be able to thrown that on CL for a small sum.

Then we got down to the big ticket item. Ben brought the company engine hoist over, which was a good money saver for the project. We fumbled around looking for the mounts on the engine block for the hoist. This was pure winging it, and fortunately, it worked out -- the 5.0 has threaded holes on the front and back of the block. On the front you have to unmount the power steering pump, and on the rear, I think it was just free holes. Even so, they were so close to the firewall it took me like 10 minutes to get one side off, my elbow slightly hyperextended the whole time. So we ended up with 2 chains on the front and one in the back.

Raise that sucker up:

Minor wrinkle was a pair of grounding wires on another rear bolt, even less accessible. After confirming the engine and tranny were in fact clear of all other wires, I unbolted it and we were ready to take it out.

We tilted the nose up to get the tranny out of its tunnel.


The 8-ton hoist didn't have as much vertical range as we needed, so we had to lower the front jackstands under the car to dip the radiator support so we could get the oil pan over it.

Not pictured is the engine and tranny sitting on two race tires (we haven't figured out how to put the engine on the generic engine stand). It leaned to the side about 20 degrees and puked out about a quart of coolant. What a mess.

And finally, the empty engine bay:


Note to self: where are the endlink bolts for the steering rack?

Monday, February 16, 2009

pics from last Thursday

Don't have much to add that CG didn't already say. But here are some pics from this awesome sessions. I am fueled to press on by visions of tearing around cones at an autocross with the finished product.


The intake manifold off and set aside. No one step on the throttle body!


Engine bay now. All the wires are off and we plugged up the block.


A shot down into the engine bay. You can see the troublesome steering shaft in the very middle of the picture, to the right of the trouble light.


Front sway bar. Note: we're missing a nylock bolt for the top of one of the endlinks. The bolts to the sway bar mounts are also really rusted and rounded.


Steering rack. You shoulda seen how bad the power steering fluid is.


The Foxbody front suspension is the devil. We have yet to get the springs off. At least we have the right tool now.


The rear springs, howewer, are down and out.


You can see the quad shock finally unhooked in the center of the picture there. The rear is coming apart fast.